Experimental artist diaries: Lino printmaking tips for beginners
About
Whether you’re looking to add more textural depth to your art, or explore a new skillset which bridges digital and analog art in an affordable and meditative way, lino printmaking may be right for you. Since adding it to my own process, I’ve found a lot of freedom in reproducing my work, especially at a larger scale.
Share this article

An introduction to lino printmaking
Lino printmaking is a form of relief printing. Just like woodblock printing – Japanese ukiyo-e artist Katsushika Hokusai being one of the most prelavent masters of this art form, lino printing consists of carving an image into a sheet of linoleum, rubber or vinyl, using a set of carving tools and turning the sheet into a large printable surface. The surface becomes a ‘stamp’ which, when covered with a thin layer of ink, transfers the carved image to paper which is pressed onto it. Linoleum is typically made by combining linseed oil, wood flour and powdered minerals with hessian backing. There are alternatives too, like polymer which offers a softer and more malleable cutting experience, and which is ideal for beginners too.
Compared with other popular analog reproduction techniques today (such as screen printing), lino printmaking can be an amazing skillset to have under any artist’s belt. Though it does come with its own set of challenges, it can feel incredibly rewarding. I’ve been slowly but keenly integrating it into my own process, taking every learning curve as a way to evolve my works in new ways. So why not start learning?
Weighing the pros & cons of lino printmaking
When I first experimented with lino printmaking a few years ago, I didn’t give it a proper chance. I was too quick to judge the technique, as I struggled with the hardness of the hessian backed sheet I was working on. I had also bought a starter kit which came with a tiny lino sheet, which limited my thinking of how much I could actually scale up my artworks with this skillset. As I researched different materials available, I came across softer types of lino sheets, like polymer which offered more flexibility, softness and ease of cutting. A few months into my own journey learning the ropes of lino printing, I can now start to weigh the pros and cons:
Some of the advantages
Cost effective. You’ll be able to find affordable tools very easily, these will help learn the basics, complete a few pieces, and much more – hopefully encouraging you to invest more energy and resources into your craft in the long run.
Tactile. This has to be one of the bigger pros in my eyes: helping me express my creativity without yet another screen! Definitely a big plus.
Added texture. This technique is one to try if, like me, you’re keen to add more textural depth to your work.
Sizing up. If you’ve been wanting to print your work to larger dimensions but don’t want to bear the cost of expensive giclée or similar digital printing, this might be a useful skill for you. I am, for instance, taking my work from A4/A3 up to A2 and larger.
Letting go. I’ve noticed that as an artist who leans towards perfectionism, lino printmaking is prying me out of my comfort zone and showing me how to both embrace imperfections and adapt to them.
Meditative. The simple act of carving away at a physical object, and shaping it into something new with artistic flair, feels incredibly rewarding to me mentally. Similarly to pottery, sculpture or painting, lino cutting definitely feels relaxing, restorative and therapeutic.
Some of the challenges
Time consuming. In the first instance, lino printmaking may be one to pick up as more of a hobby (to experiment with learning something new) as opposed to your core skillset. It may be an easy technique to learn, but the process of carving takes time out of your schedule so it can require dedication.
Fixed sizes. Another issue is that the printing blocks you end up with are limited in terms of dimensions. Unless your art style lends itself to combining smaller blocks with more freeform application, you may find yourself recreating the same image multiple times for various paper sizes, only adding to the potentially time consuming nature of this process.
Fragility. Lino sheets, in particular those made with natural materials, can be fragile compared with wooden or polymer counterparts. They’ll break down quicker the more they are used, and therefore require maintenance before they eventually disintegrate, in order to prevent issues like warping or cracking.
Imperfections. As mentioned above, lino printing has helped me learn to embrace imperfections in my creative process. But certain imperfections, such as carving mistakes, wrong pressure application, or printing with too much or too little ink, can also take a little while to overcome.
beginner’s starter kit: Tools of choice
If you’re keen to get started with lino printmaking, and you’re looking for affordable ways to do so, I’ve compiled this helpful three-step starter kit. These are the tools I’ve been using, as a beginner myself who is currently learning new lino cutting and printing techniques – but remember that there are many different ways to approach lino printing, so feel free to adapt and evolve as you go!
Step 1 – Tracing a guide of your image onto the lino
Laser printer with regular cartridge paper, black printer ink
Masking tape, if you’ll be tiling paper together in this step
Carbon tracing/transfer paper – A4 or larger, depending on your final print size
Lino sheets in the size you’ll want to print to – my pick was Artway’s A2 soft cut polymer sheets
Pencil and smudge-free permanent marker pen, to trace your image onto the lino
Step 2 – Cutting and carving out your image onto the lino
Lino cutting knives – I’ve been enjoying using these wooden ones by The Art Shop Skipton
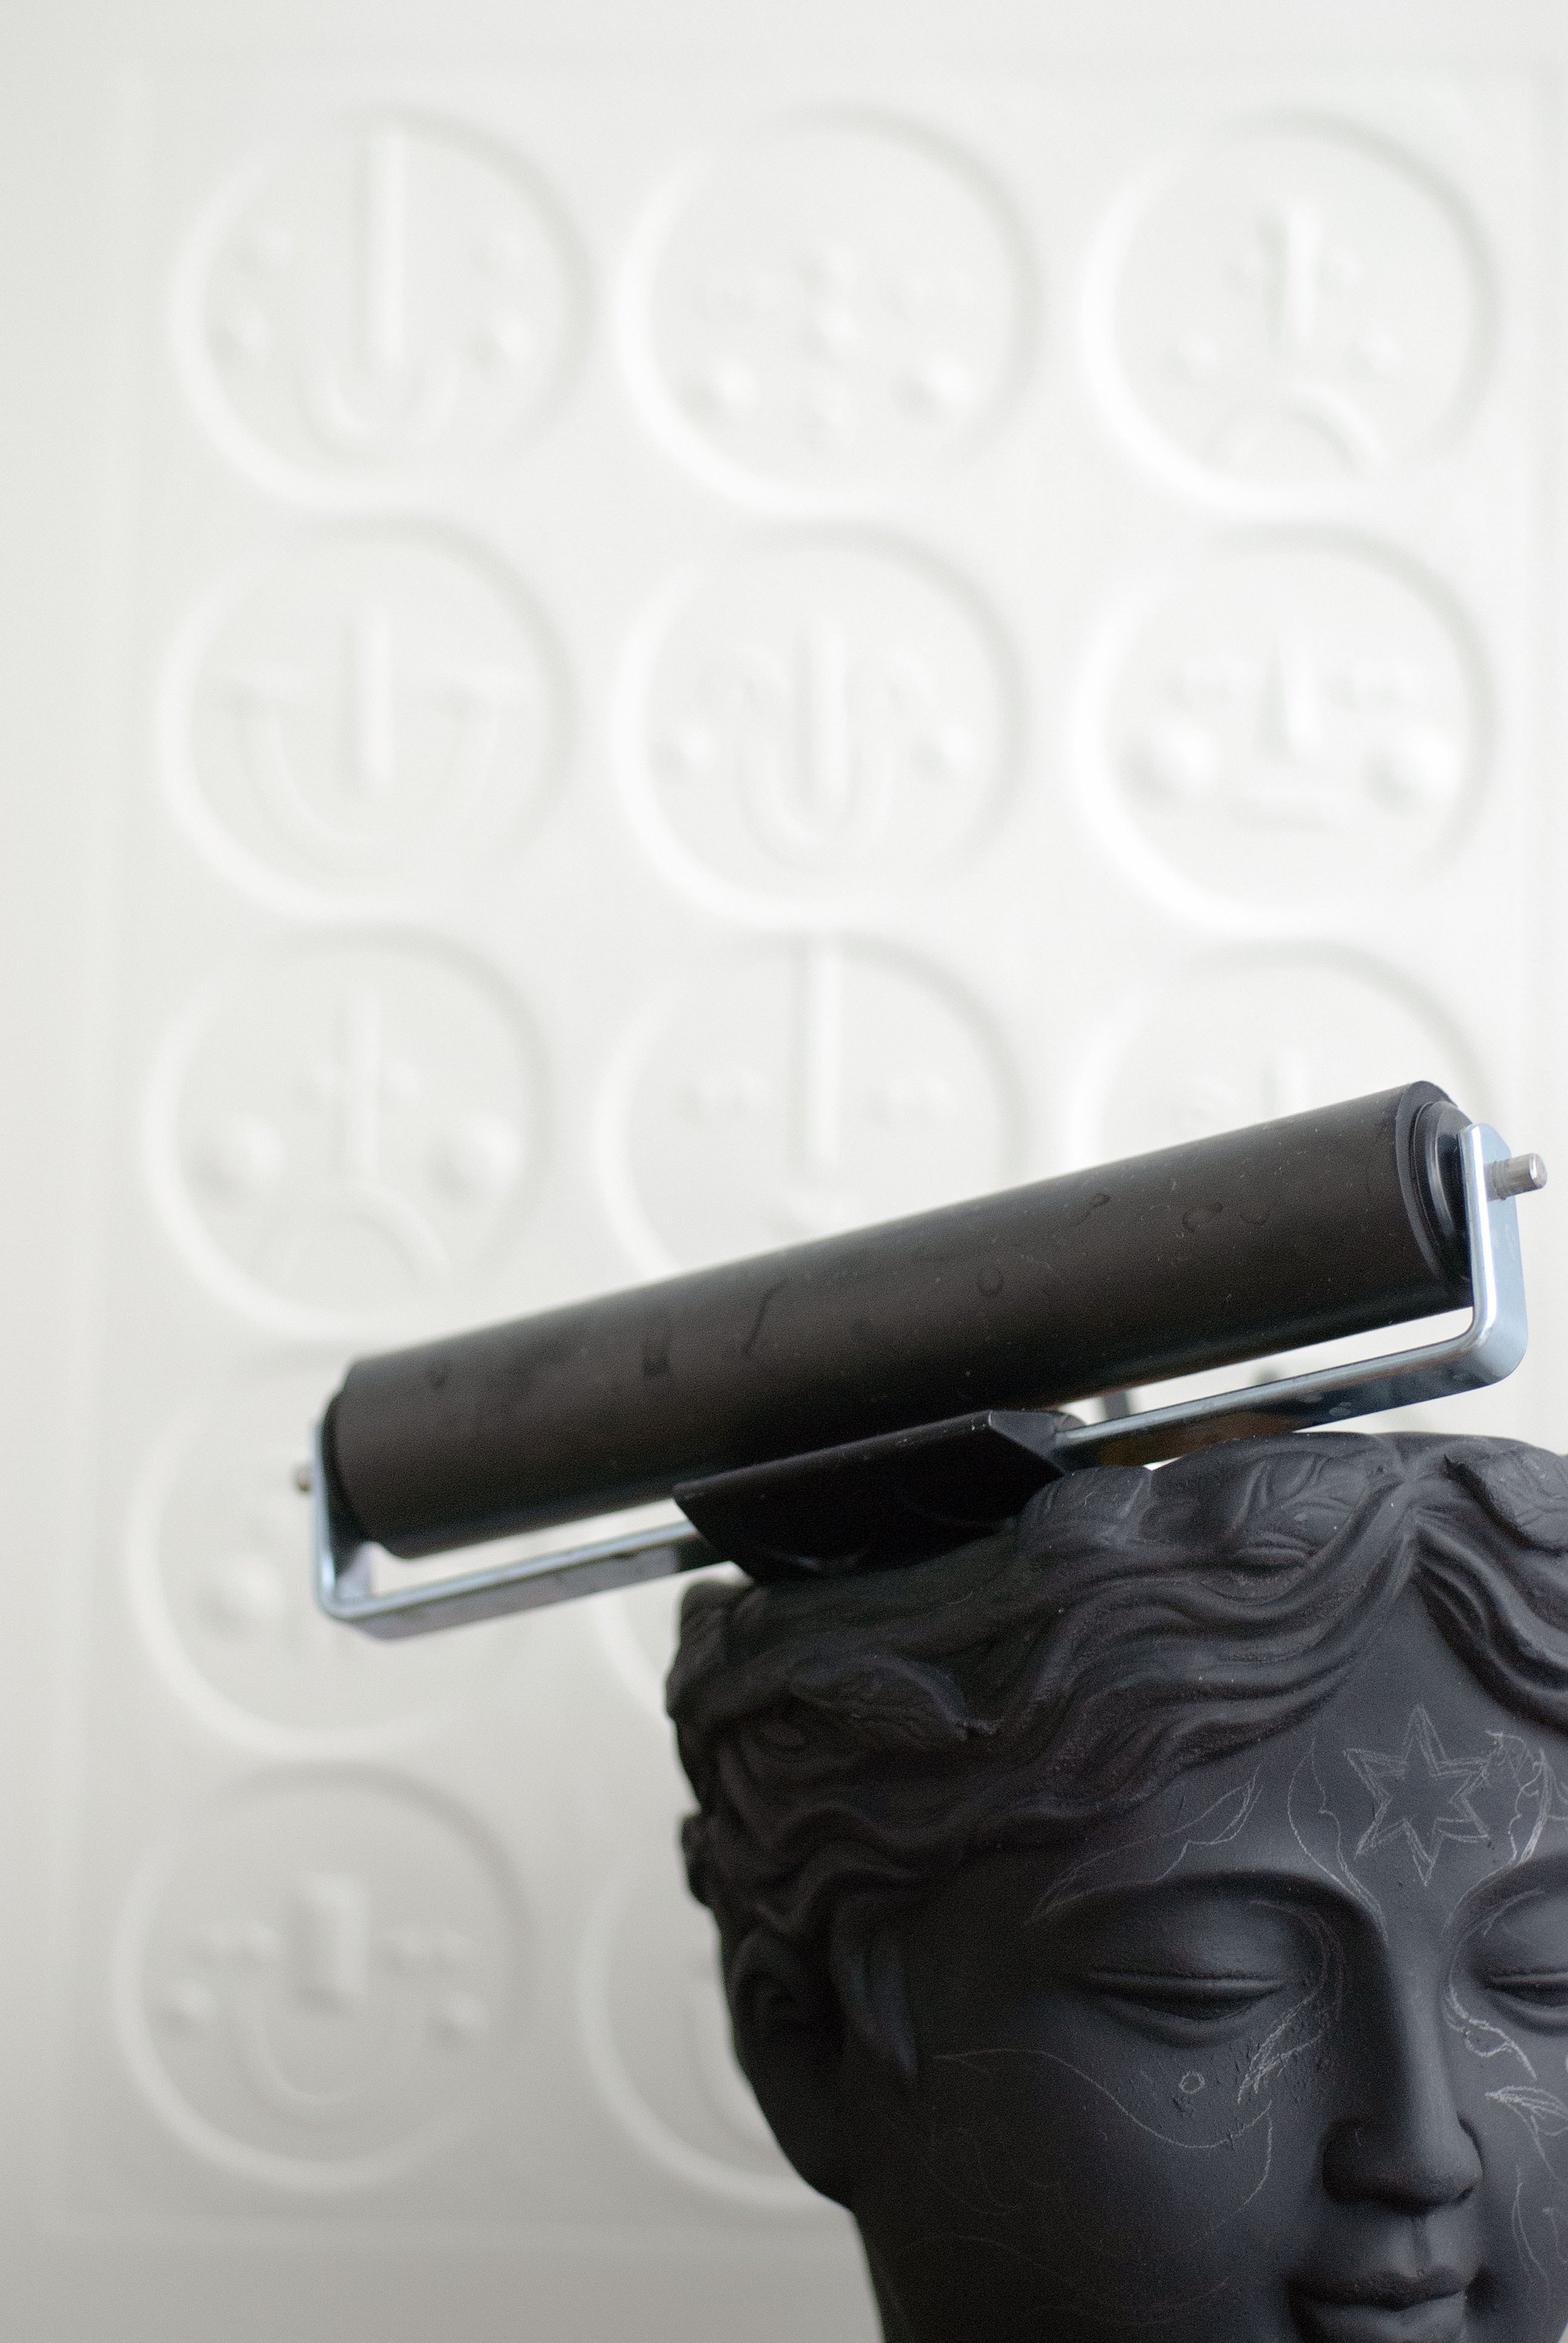
Lino roller (aka brayer) – mine from Artway measures 15cm, but a smaller size (i.e. 5.5-10cm) might also be helpful to ink up detailed areas of any artwork
Step 3 – Reproducing your image onto the lino
Lino inks – I’m using the Essdee brand (in black and metallic gold) of which Jackson’s Art has an amazing selection
Flat, smooth and non-textural plastic or glass surface to roller ink onto – I took mine from an old A3 frame
Printmaking papers of your choice, ideally between 30-150gsm – handmade papers used in this article are from HeavenHemp
A visual step by step printing guide

Step 1 – If you’re looking to recreate a digital image with lino, you’ll want to print off an outlined and mirrored version of it, to the size you want your print to be, and carefully tile it together if necessary (say, if larger than A4). This will become your guide for tracing the image onto lino. My design tiles four A4 sheets to create one A2 image.

Step 2 – Place the carbon tracing paper between your tiled print and lino sheet (in my case, I’ve needed to tile it again to match the A2 scale!) and use a pencil, or similar tool with blunt tip, to apply pressure and recreate the outline of your final image onto the lino sheet. It’s okay at this stage to make mistakes and attempt the outline multiple times.

Step 3 – Once you’ve got a rough (but clean enough) outline of your image from the carbon tracing, carefully and accurately redraw your image onto the lino sheet using a permanent marker pen, or a similar tool which resists smudging. It’s important to be precise now, since this image will be what you’ll follow closely when carving into the lino.

Step 4 – Now for some fun, let the lino cutting begin! Cut away parts of the design you do not want to see printed in your final design, choosing carving knives which work depending on the level of detail in your image as well as the hardness or softness of the lino you’re using. This article here was a personal favourite in learning about the many types of carving tools available for different budgets.

Step 5 – Roller ink out onto clean, flat and smooth surface (glass or plastic works best) and aim for the most consistent, smooth and velvety ink coverage possible on your brayer. This may require several rolls on the surface before applying it to your lino sheet. At this point, the perfectionist in me will start getting sweaty palms, but try not to fret and rather embrace the wabi-sabi nature of this process!
Step 6 – Apply your inked-up brayer onto the lino sheet, making sure application is as even as can be. Rotate your plate and apply the ink from every direction, aiming for consistent coverage. A few passes may be required depending on the amount of ink you’re using – this might be one of the trickiest bits to get right with lino printing, so don’t worry about getting it right the first time around.

Step 7 – Don’t forget that test prints are an essential step! You’ll want to stick with paper weights which range between 30-150gsm – thinner papers are optimal for hand-burnishing whilst thicker papers can be hard to press the image into manually for a solid print. I’ve used 30-60gsm handmade lokta papers for the final prints shown in this article, as well as 130gsm sketching paper for test prints.
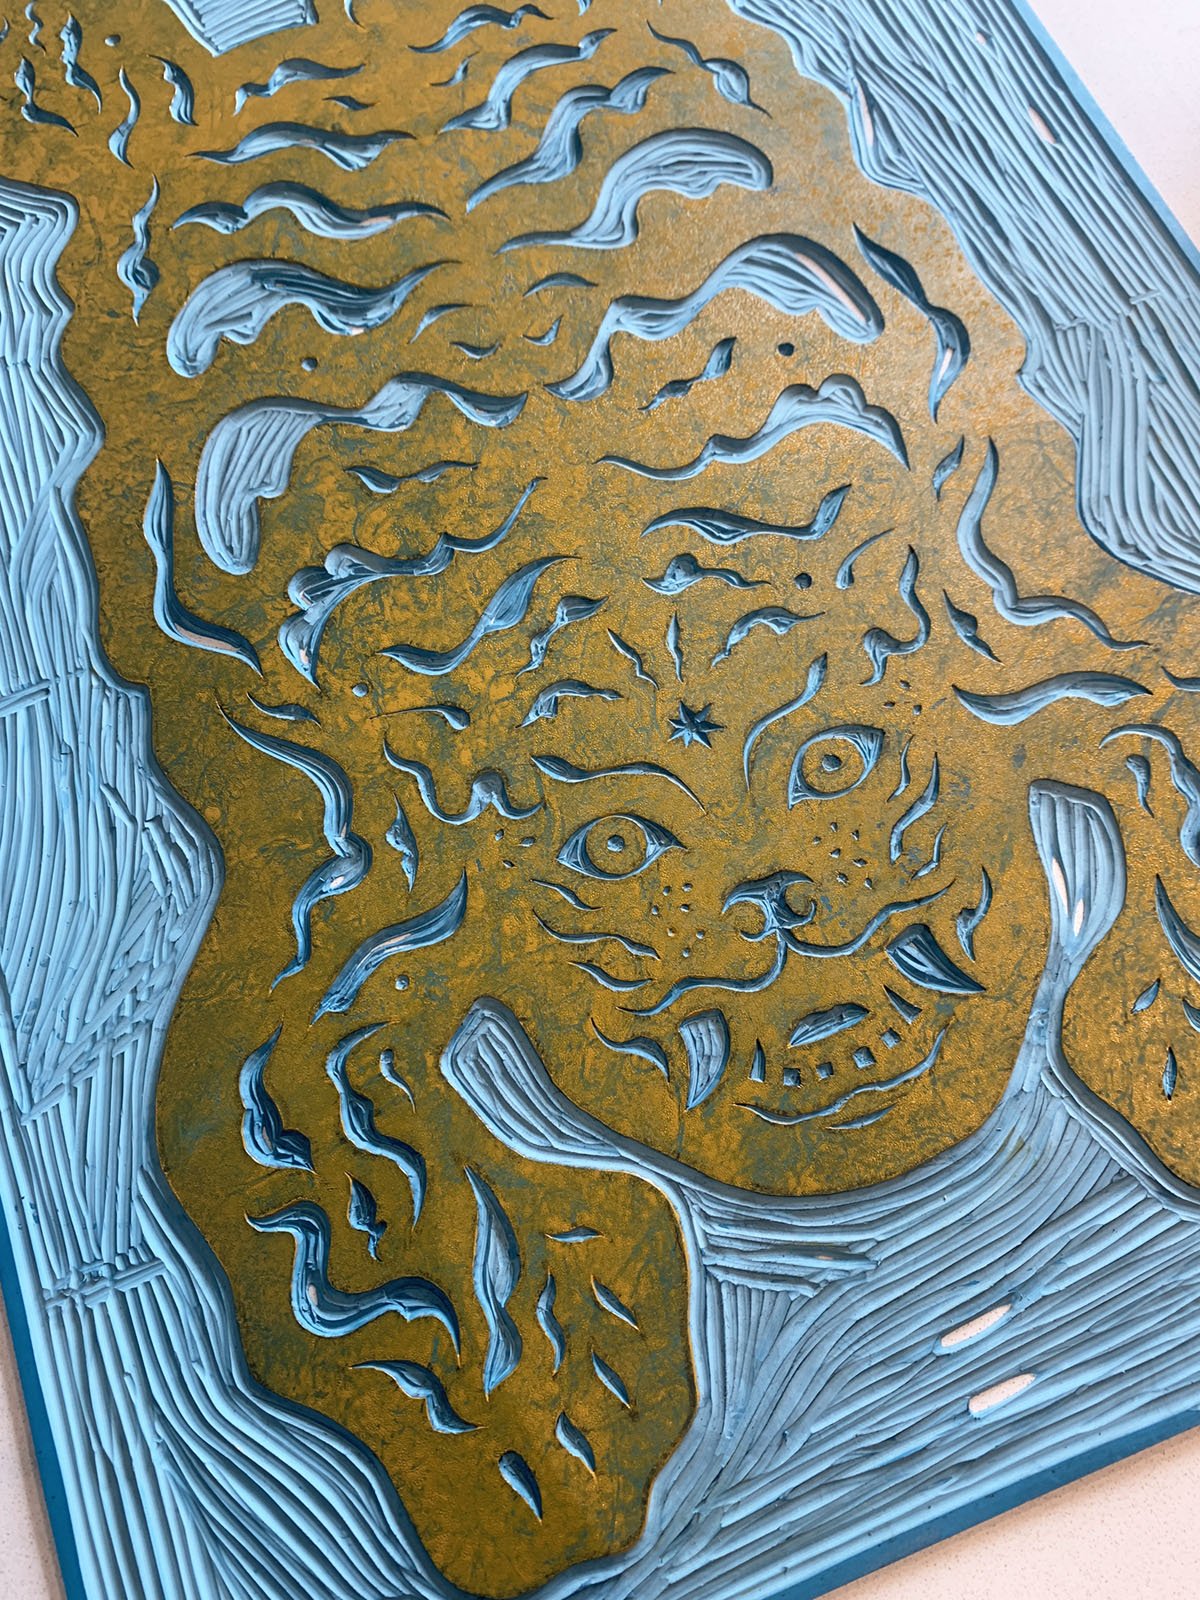
❋ Here’s a sample image of ‘Life In Bloom’ which I carved out recently. It perfectly showcases the flexibility of working with soft polymer linoleum: the organic and rounded shapes were almost effortless to cut out, and I was able to complete this carving within 4-5 hours altogether without making any mistakes in the process, a feat for my very first attempt at large scale lino cutting!

❋ The handmade lokta I selected for this print was only 30gsm, with a tissue paper-like quality, so it revealed the entire print as ink was hand-burnished on. Upon reflection, this paper’s highly textural grain may have been a tad too inconsistent (well for a novice at least, since I’m admittedly also limited by my own skills!) but regardless I loved the results that this print session yielded.
Hot tips I’ve learned from the experts
Never lay your brayer rubber side down. This will cause it to lose its cylindrical shape and create patchy and uneven ink coverage over time.
Try out different tools and types of lino before settling. I’ve tried hessian backed lino in the past and found that soft polymer was more versatile for the organic rounded shapes in my designs – whether you opt for harder or softer materials is entirely up to you!
Keep your tools sharp. Your knives will likely need sharpening as you go, especially if you’re working with harder lino plates, so you’ll eventually want to invest in a whetstone to keep them ready for the job.
The importance of registration. To avoid your prints from coming out even slightly crooked, working with registration marks can really help: whether tape lines or pencil markings, help yourself out by marking out where you’ll want to position your paper before you begin.
Pick oil-based inks. Whilst water-based inks are quicker to dry and easier to clean (which is particularly helpful for prints with multiple layers to them), oil-based inks are more durable and intense in pigment. Depending on the quality of these inks, harsh solvents may not be needed in the cleaning process either. ✺

❋ Final result for ‘Tag Gold’ – Metallic gold ink on charcoal black handmade paper, couldn’t be happier with the results of my first ‘official’ lino printed image!

❋ Final result for ‘Life In Bloom’ – I love the imperfections in this print! The lino printing community might have something to say about the uneven application of ink, but as a beginner who is learning and improving as I go, I’m adapting: I want to preserve the grunge-like textures in this result, and I also intend to add more hand-finished embellishing like gold leafing for added impact.
Discover more ideas